Are you new to Blackboard Collaborate Ultra? The first things you need to do when using Blackboard Collaborate Ultra is to enable the tool, create a link to Collaborate Ultra in the menu, and start a session. This will walk you through setting up Collaborate Ultra.
Adding Blackboard Collaborate Ultra in your Course Content Menu
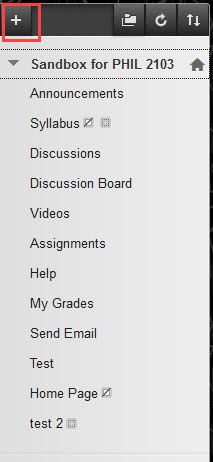
- Enter your course and in the main menu on the left click the + button.
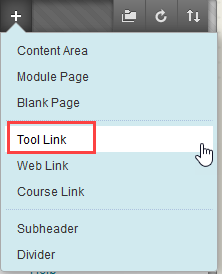
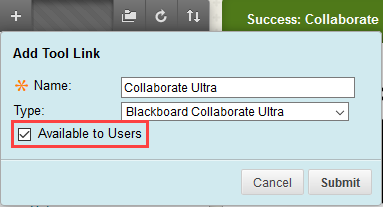
- Click Tool Link.
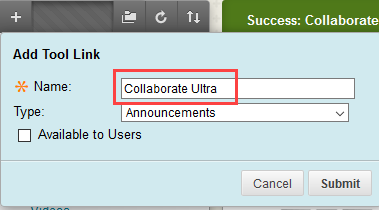
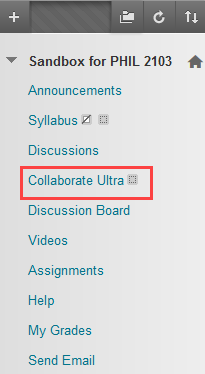
- Name your content area. We recommend naming it “Collaborate Ultra” (or something similar) so that students can easily find and access the tool.
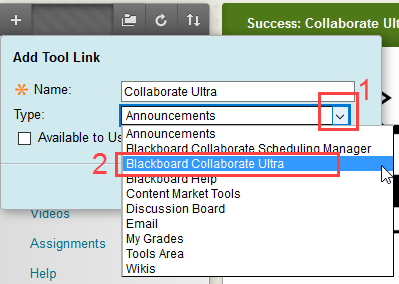
- Click on the drop down menu, select Blackboard Collaborate Ultra from the options.
- Check the box to make the content Available to Users.
- Click on the content area you created.
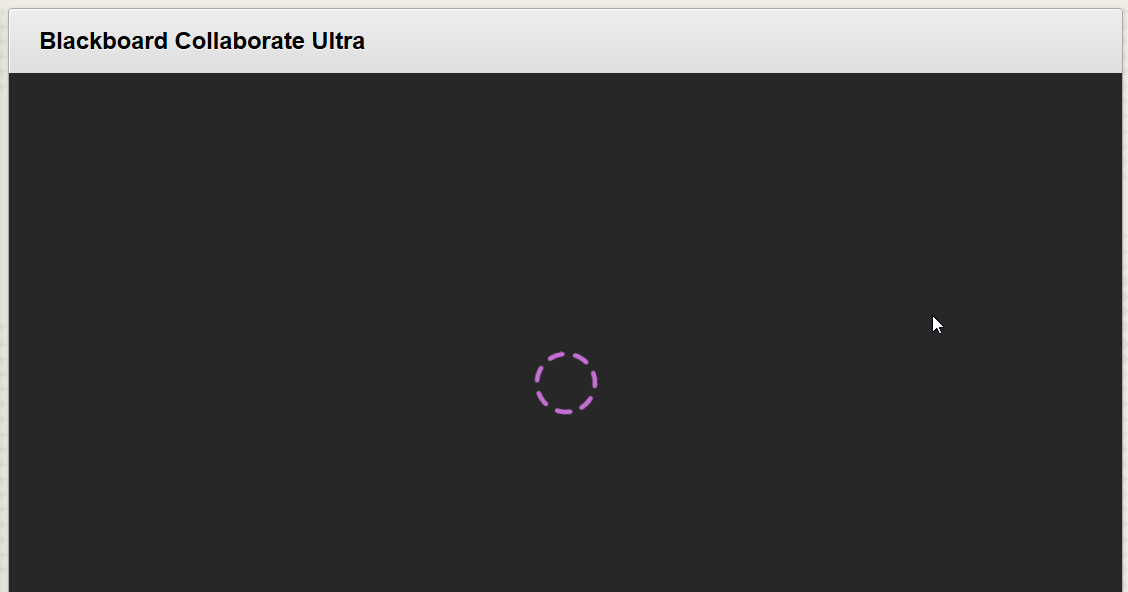
- You will get a black screen with a purple circle. This lets you know Collaborate Ultra is loading.
- You will then be directed to the Session list.
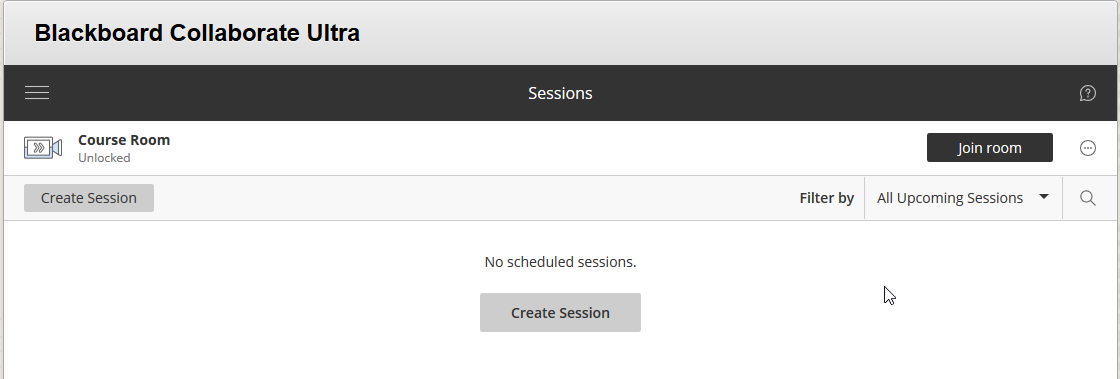
You can now start scheduling sessions! Learn how to Schedule a Blackboard Collaborate Ultra Session.
