
- To add content to your Blackboard course first create a blank content area. At the top of the Course Menu (left column, top menu for students) click on the button with the plus sign (+)

- Click on Content Area

- Name the Content Area according to the materials that it will contain.

You have the option to make the link available to users now or you can show it later after you have added your material. - Click Submit.
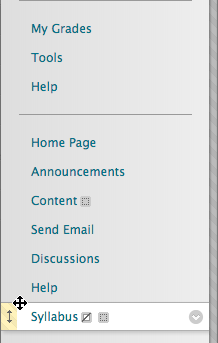
- The menu link for your newly-created content area will appear at the bottom of the menu. Reorder your links for easier viewing by dragging the item to where you want it. Click the new Content Area you have created.
- A content area can be the home for many different types of folders, files, media assessments, and tools. Select the appropriate content type from the options above the content area.

- Once you have added your material, click the arrow button next to the Content Link and select Show Link.


You can view this link as your students would see it by turning your edit mode off.
Note: While the steps of the above video are the same, it was created in a previous version of Blackboard and does not look exactly the same as what you will find in your course.