
Designing your course and Creating your menu
When designing your course it is important to consider what Tools you would like your students to have access to and use.
The top menu on the left of the screen shows items which may be available to the student.
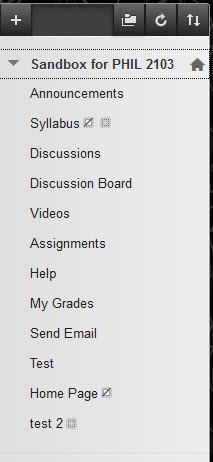
Items with a strike-through box are not available to users.
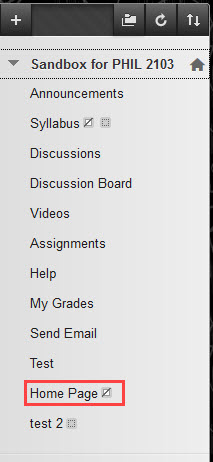
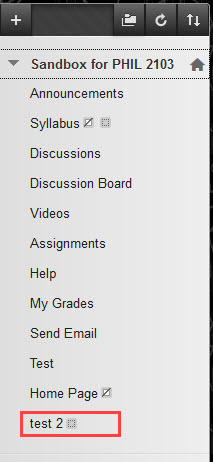
Items with a shadow box are empty.
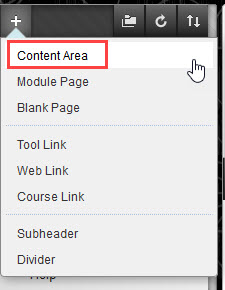
To Add a Content Area
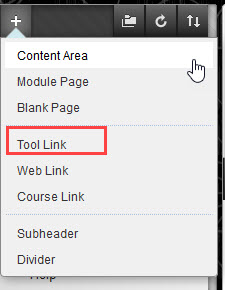
- Click on the plus sign.
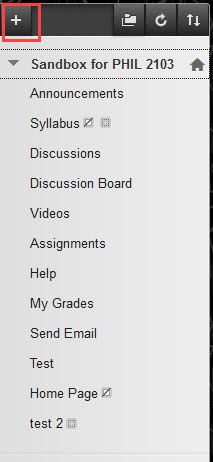
- To create a content area, where files or assignments can be stored, click Content Area.
- Creating a Tool Link will allow your students to access the tools your Blackboard course comes equipped with such as blogs, discussion boards, collaborate, and more.
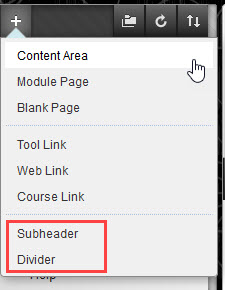
- You can also change the appearance of this menu area by using dividers, subheaders, and by rearranging the order of your links.
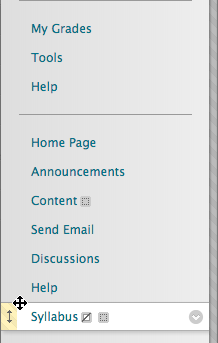
To move the Content Areas in the menu, grab the two sided arrow next to the item and drag it where you want it to appear in the menu.
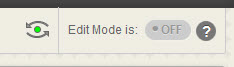
- Turn off your edit mode to see the menu from a student view or click the icon to the left of Edit Mode. This appears in the upper right of your screen.
See it in Action!
[kaltura-widget uiconfid=”23899751″ entryid=”1_oa086r3c” responsive=”true” hoveringControls=”false” width=”100%” height=”56.25%” /]