
The method for overwriting is slightly different, depending on how you linked the file in Blackboard. Below, you will see the three options:
Contents
File was inserted in the content editor
If the file resides in the body of the text editor for an item, assignment, etc., and was inserted by clicking the Insert File icon as shown below, follow the instructions below.

To Overwrite the File
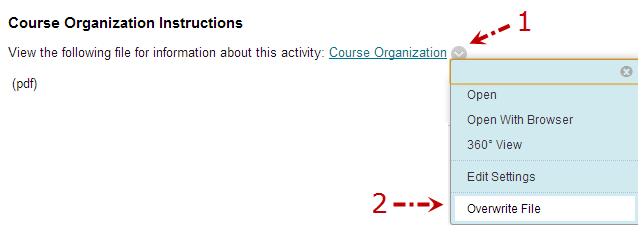
- Hover your mouse pointer over the linked file until the round edit button appears
- Click the arrow to open the menu
- Select the Overwrite File option (see below). Follow the prompts to select a new file.
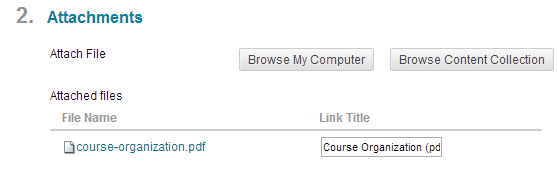
File was attached to item
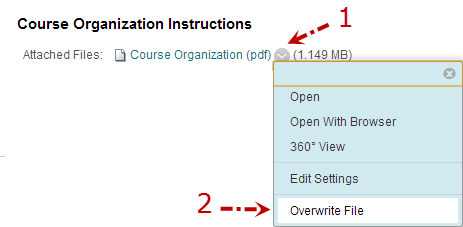
If the file was attached to the item as shown here, follow the instructions below.
To Overwrite the File
- Click the edit button to the right of the attached file
- Select Overwrite File (shown below). Follow the prompts to upload the new file.
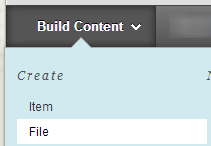
If a file was attached independent of an item, assignment, test, etc., by using the Build Content, File option as shown here, follow the instructions below.
To Overwrite the File
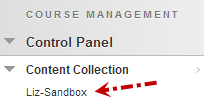
- Navigate to the Content Collection for your course. You will find it in the Control Panel, under Content Collection.
- Click on your course ID to open the files for the course (see below).
- Hover over the file name until you see the edit button and click it.
- Select Overwrite File (see below). Follow the prompts to upload the new file.
