Adjusting Site Menus
Adding items to your menu in WordPress may not seem apparent right away, but is actually quite straightforward. Follow the steps below to easily update your site’s menu.
**Note: If you plan to add a page or post to the site menu, go ahead and create that content first.**
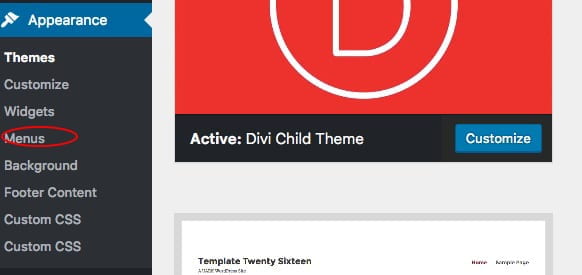
1. Navigate to the Dashboard, then hover on Appearance, then click Menu.
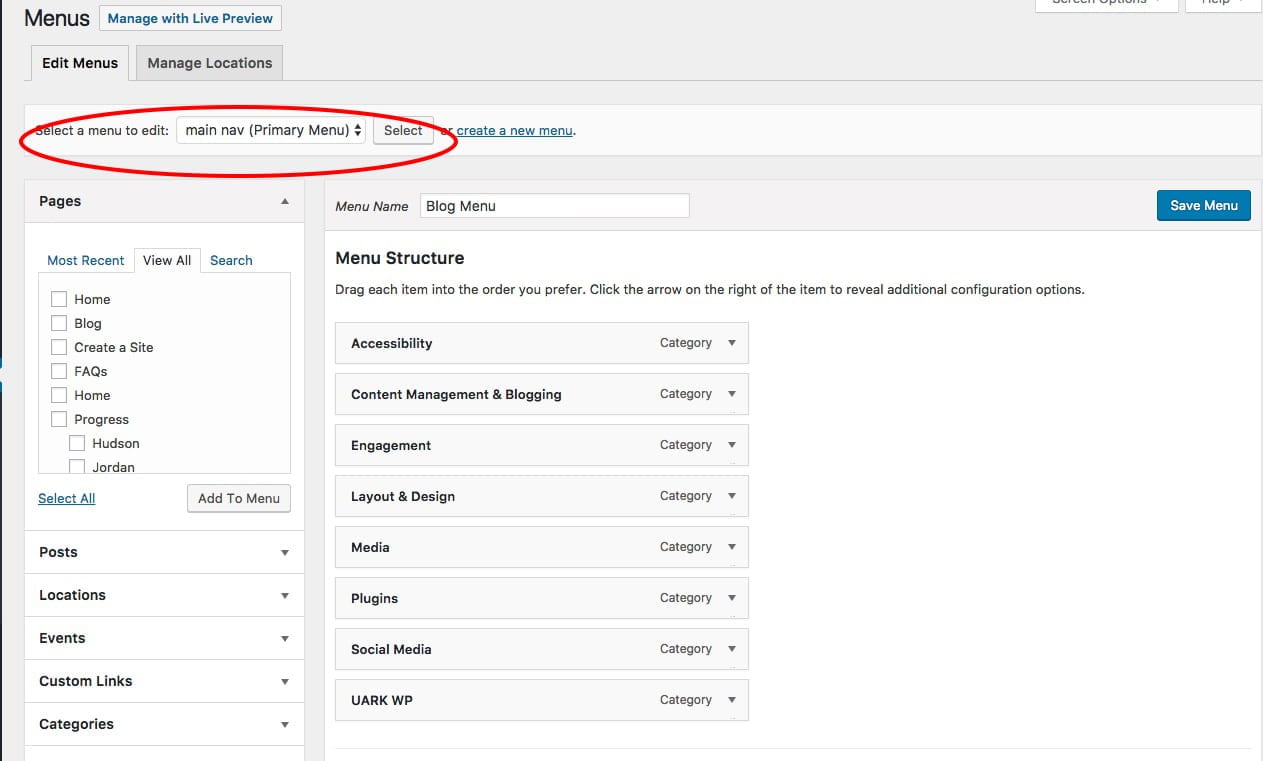
2. Near the top of the page, select the menu that you would like to edit. If you want to edit the main menu on the site, the one that is at the top of every page, this will have a note in parenthesis that says “Primary Menu”.
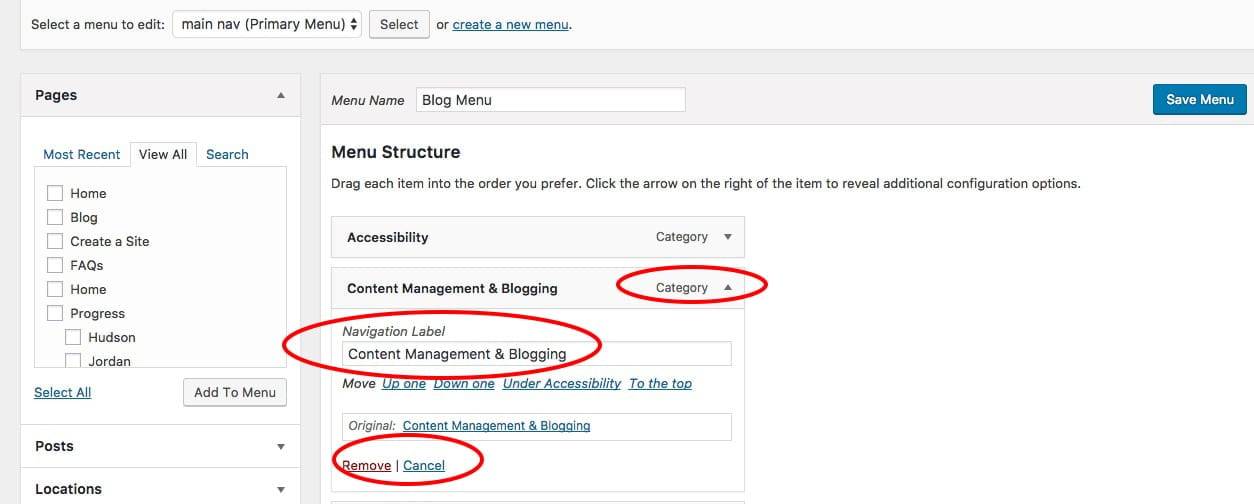
3. If you would like to edit existing menu items, simply click the menu item to expand. Here you can re-label the menu item or delete it altogether. If you would like to change the order or nest the menu items, drag and drop to the appropriate positions.
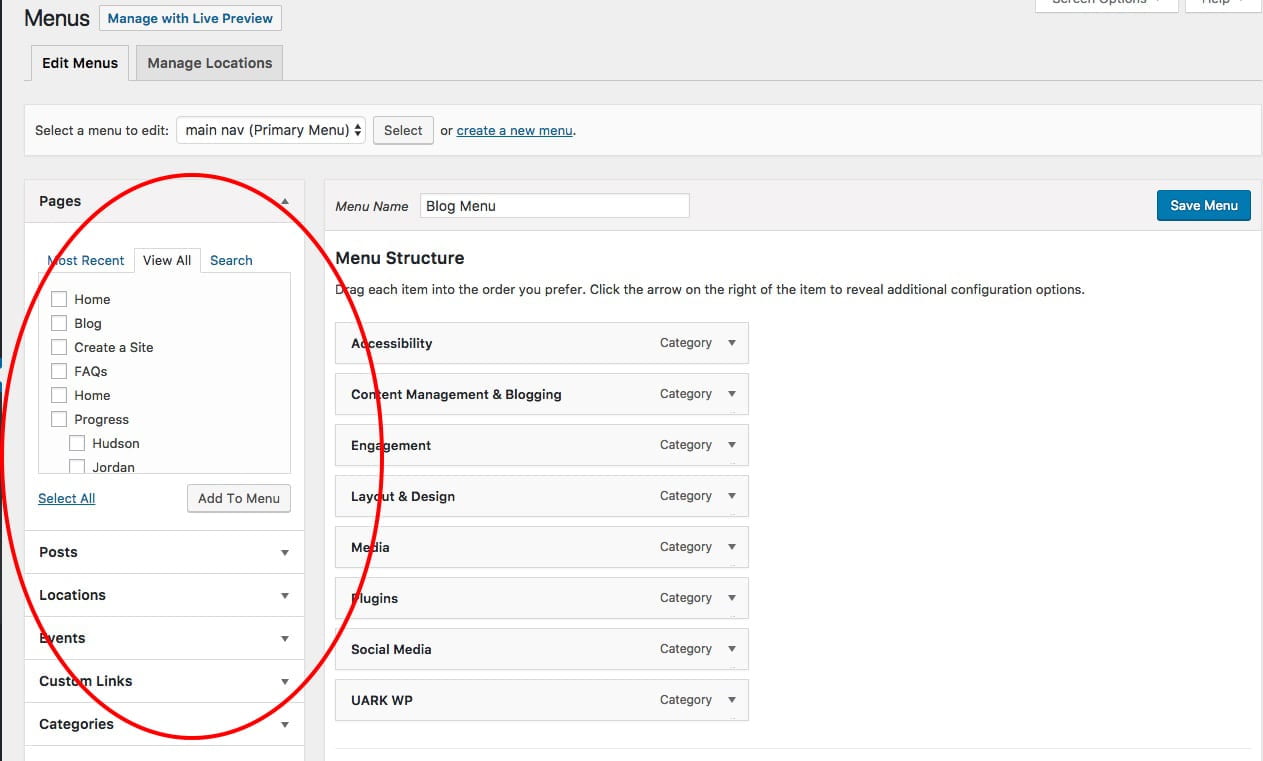
4. To add items to the menu, select them on the left hand of the screen. You can choose to add pages, posts, locations, events, custom links, or categories. Make you selection and click “Add to menu”
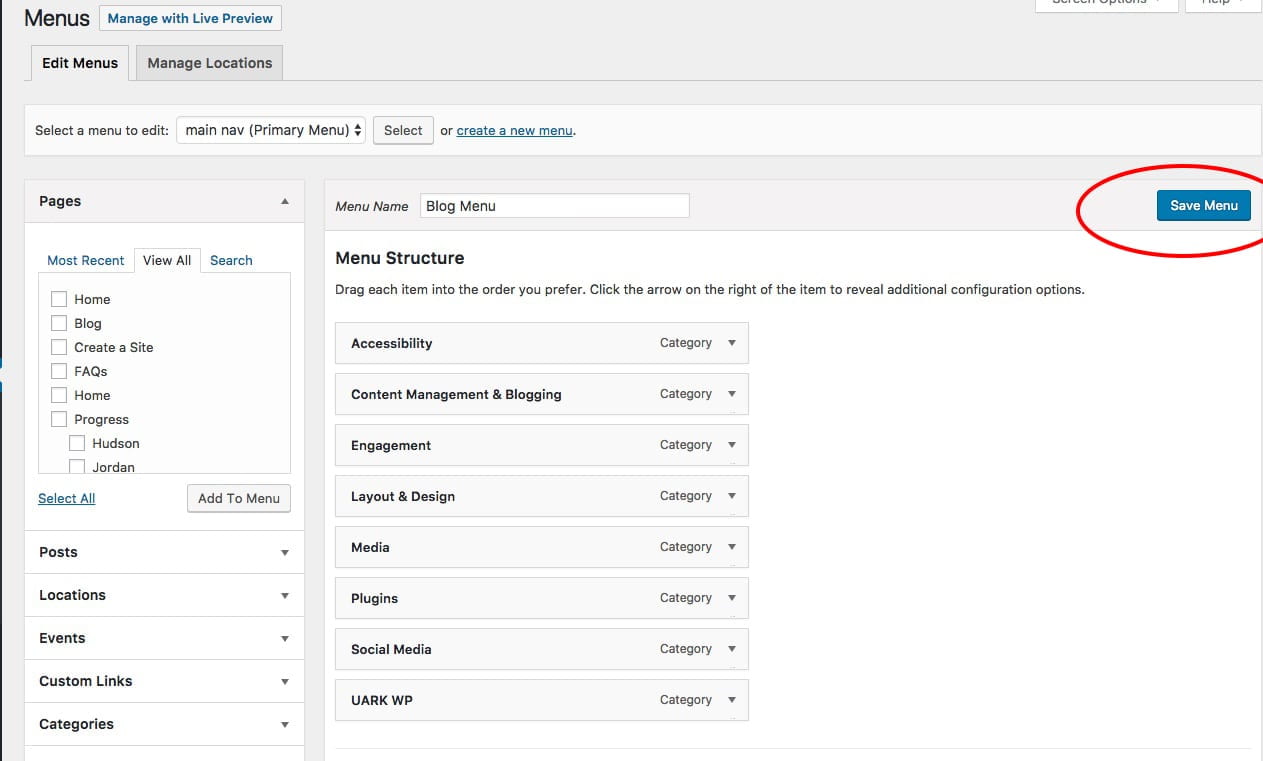
5. Last, be sure to select “Save menu” to save your changes.
Video Tutorial
That’s it! Your menu will now appear as you have arranged it. If you have further questions or comments, please let us know at wpress@uark.edu