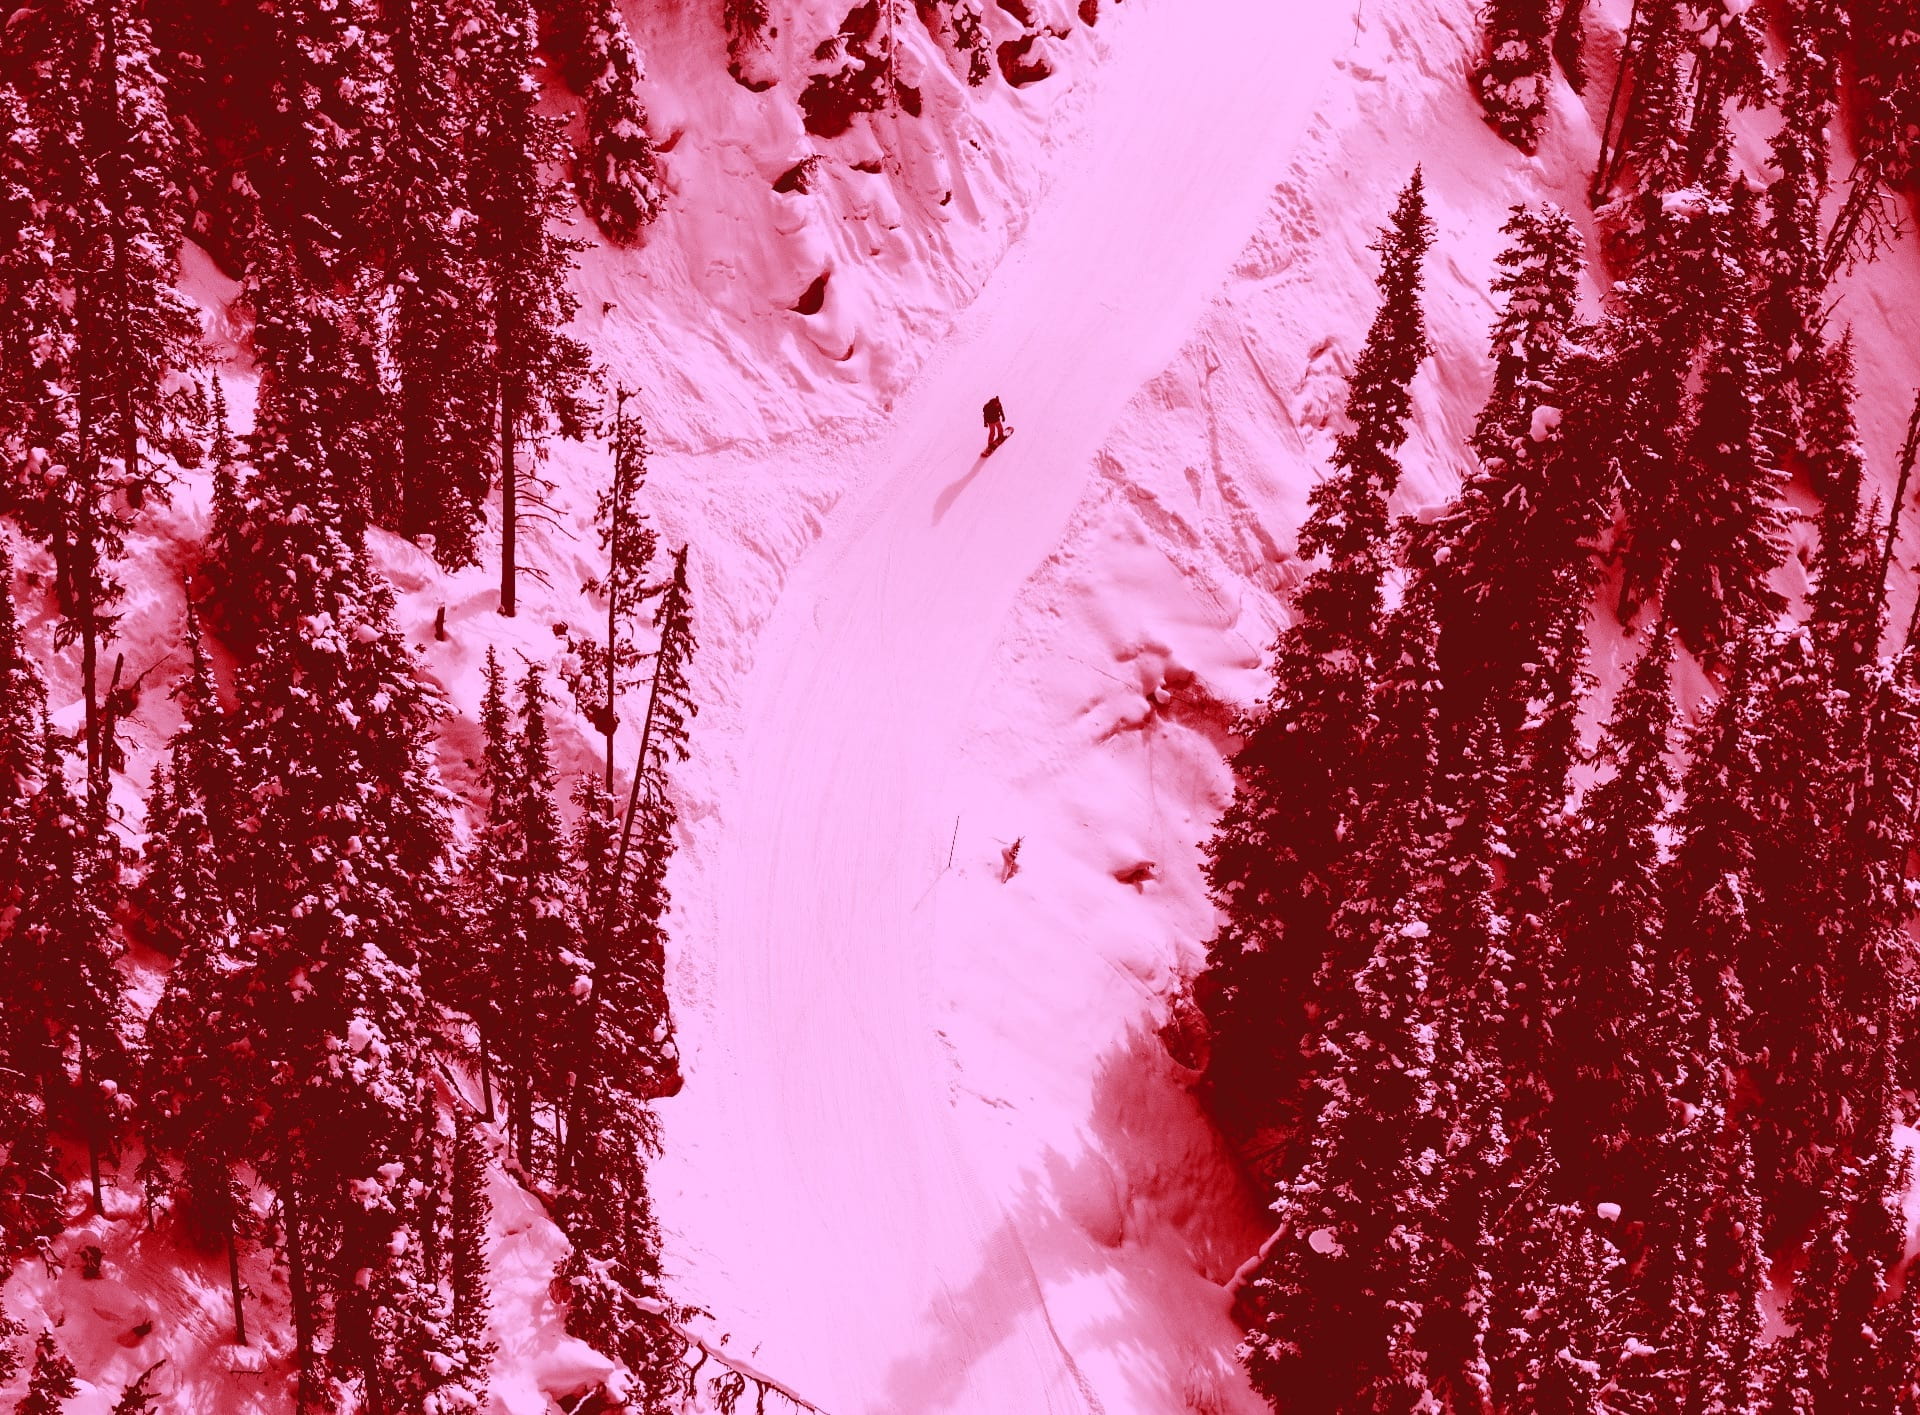
In Adobe Photoshop, you can turn any full color image into a duotone image step-by-step.
Step 1
Open the image in Photoshop
Step 2
0:00-0:03
In the layers panel on the right (Windows > Layers), click the lock on the image layer to unlock the layer.
Step 3
0:04-0:10
At the bottom of the layers panel, click the “Create New Fill or Adjustment Layer” icon. Choose “Gradient Map…” and this will open the properties panel above.
Step 4
0:11-0:14
In the properties panel, click the Gradient preview drop-down triangle to open the Gradient Editor. Start with a basic duotone, such as the preset named “Violet, Orange”
Step 5
0:15-0:53
To change colors, click the gradient preview (the color bar in the properties panel), and then double-click on a Color Stop to open the color picker. From here, select your desired color. Click OK. Adjust each Color Stop according to what you like best.
Add aditional Color Stops to the gradient map by clicking directly underneath the gradient. Edit the new stops as needed.
Step 6
Click OK when you’re happy with the image’s appearance. Then go to File > Save As…
