How to Adjust Footer Widgets
Assign Content
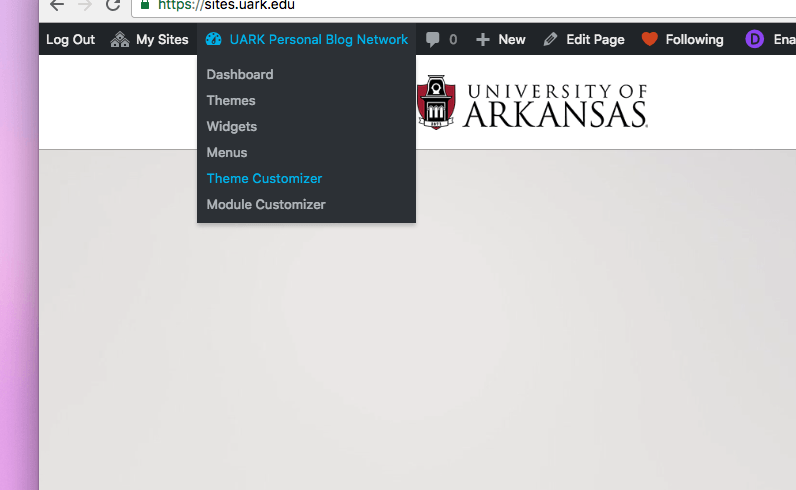
Navigate to the theme customizer. You can find this in the dashboard under “Appearance” or on the front end by hovering over your site title on the top horizontal menu bar.
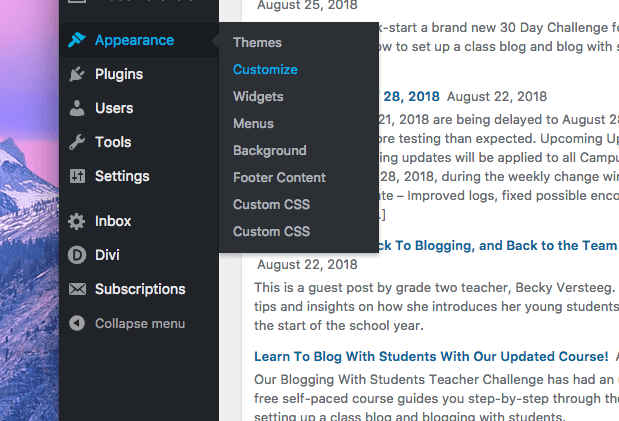
Select “Widgets.” Footer areas 1-3 will appear by default on your footer. Click on the area where you would like to add content and select a widget. Options for widgets include text, custom html, calendars of posts, google search, and many more.

Layout and Style
In the theme customizer, select Footer. Here you can customize layout, alter the background color of the footer area and style the text, and remove the social media icons.
Under layout, you can choose between one and four columns to display. You can also select from a few different column ratios here. In the same menu display you also have the option to input a custom footer color.
Under “Widgets” you can change the header, link, and body text size and colors.
Under footer elements you can hide or display social media icons on the bottom footer bar.
Video Tutorial
Questions?
I hope this brief tutorial was useful in setting up your site’s footer! If you have any questions, or would like to request any further tutorials, please let us know at wpress@uark.edu!