
Getting Started
Your new site comes with a template that will help you get started. The site will have a URL that starts with wordpressua.uark.edu initially, and it will be set so that only people listed as users can see it.
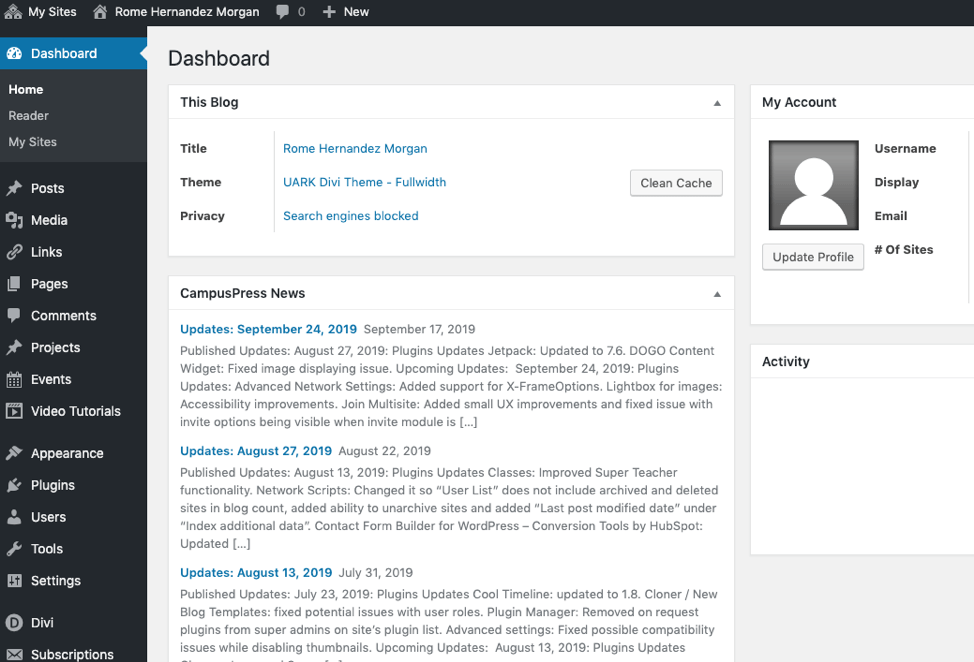
You can log into the site through the “WP Admin” link in the footer. Logging into our system will take you to a general dashboard screen. Click on “My Sites” in the top left corner and choose your site from the list.
We offer WordPress training to help you with your site.
Creating Your Site
As you think about adding content to your site, we recommend you create an outline of the site first. This will help you figure out what menu items you need and what information should go under each item.
When you are ready to make your site public, send an email to wpress@uark.edu. The site will be reviewed for content and accessibility. This process can take up to a week. Once it has been approved, we will put your URL in place. Here are some of the things we consider when reviewing websites.
- Navigation and content makes sense
- Site works well and looks good on mobile devices
- All content is complete–no filler text
- All links work
- University of Arkansas affiliation clearly and appropriately identified
- Clear contact information and links to appropriate college and department in footer
- All menu items, links, and content areas are accessible through keyboard, without using the mouse
- Appropriate use of headings and bulleted lists.
- Appropriate link text (no “click here”).
- Appropriate color contrast. For helpful information regarding approved colors and text/color combinations refer to the university’s color guide.
- All images have alt text (here is a guide to effective alt text).
- Use of high-quality images (here is a guide to choosing images).
- Video/audio content has accurate captions or transcripts (here are instructions for adding captions to YouTube)
- All tables have captions.
- All tables have appropriate HTML structure.
- All documents (PDFs, Word documents, etc.) are accessible.
- All forms are accessible.
For more information on accessibility, refer to webfirst.uark.edu. You can sign up for accessibility training on the Human Resources website. If you have any questions, email wpress@uark.edu.
WordPress Dashboard
You can access all of the tools for your site in the Dashboard.
Themes
We have two main WordPress themes, Divi and CampusPress Flex. To see what theme you are using, choose “Appearance” from the left side of the dashboard, and click on “Themes.” Your active theme will appear at the top left corner. NOTE: changing your theme may result in major changes to the look and function of your site, and in some cases, theses changes cannot be reversed, especially when changing your theme from Divi to another theme. To be safe, get help from the WordPress team if you want to change your theme.
Adding content to your site varies according to what theme you are using.
Here is information on the Divi Theme.
Here is information on the CampusPress Flex Theme.
Here is information on the WordPress block editor, used by the CampusPress Flex theme.
Posts
Posts are entries that display in reverse order on your home page and/or blog page. Posts usually have comment fields beneath them and are included in your site’s RSS feed. Please visit How to Add a Post to learn more about Post creation.
Media
Media consists of the images, video, recordings, and files that you upload and use in your blog.
The Media Library Screen allows you to edit, view, and delete media previously uploaded to your blog. Multiple media objects can be selected for deletion in the list view of the Media Library. You can also search and filter the media library to find the media you’re looking for.
In Media Library Grid View, clicking an image thumbnail, audio icon or video icon will display an attachment details dialog, which allows you to preview media, make quick edits and add alt text. Any changes you make to the attachment details will be automatically saved. You can also delete individual items and access the extended edit screen from the details dialog.
Pages
Pages are for content that isn’t specifically time-dependent, or which isn’t “blog content”. Pages can be organized into pages and subpages. It’s quite common to make a website using WordPress which only contains pages.
Menus
Your menu helps visitors navigate the site. Our sites have a main menu in the header, and they also have options to add a secondary menu above the header. It is essential to have a well-organized menu. Think of your menu as a table of contents for your site. All the main sections and pages of your site should be listed there, and it should not include any links that take visitors off your site.
To learn more about creating and editing your menus. please visit Adjusting Site Menus
Editing the Footer
The Footer is, as the name suggests, at the bottom of your site. Here is where you’ll find the Contact Information, Department and College Links, and the Disclaimer. To learn how to make changes to your footer, please visit How to Adjust Footer Widgets
Theme Customizer
The theme customizer has options for your site’s appearance. To access this tool, go to the live site while you are logged in. Click on the site title, and choose “Theme Customizer” from the dropdown menu (in the Divi Theme) or “Customizer” from the top menu (in the Flex theme). You can also use the customizer to edit your menu and footer. Changes made in the customizer will be visible as you make them, but you must click “Publish” to save these changes.
Users
As a site administrator, you can add users to your site if they are already a user on another WordPress site. To learn how to add users, please visit Adding New Users.
There are four roles that you can assign to users: Administrator, Editor, Author, and Contributor. Here is a description of these roles.
Adding Users
If you’re an Administrator and you’d like to make someone a Contributor, Author, or Editor on your site, go to Users → Add New. Fill in the required info and select the role you wish to give them using the dropdown. Your new user can login with their UARK username and password. If your user is still unable to login, please contact us so that we can add them to the network.
Changing User Roles
As an Administrator of a site, you can change other users’ roles. First head to Users → All Users in your WordPress admin. Check the box(es) next to user avatar(s). Using Change role to… dropdown menu, select the new user role(s) you want to assign. Click Change.